Step 1: Collect supplies.
 "Glass?", you may ask yourself, "where will I get glass?" The answer: from a picture frame. Yay! If you live in Hamilton Ontario, the rest of these supplies can be picked up at
Mixed Media. If you don't, I'm sure there is a great art supply near you.
 Step 2: Cut your linoleum block to size.
 Decide what size of print you want to do, and trim your block and paper to match each other.
 Step 3: Sketch your artwork out.
 As with most printmaking, the key to success is remembering your piece will appear backwards. Make sure to plan things out before hand, especially if you are using letters or numbers. Be sure to overcompensate for how much space you'll need to carve. Your lines should be very thick.
 Step 4: Get carving.
 Decide what parts you want inked. Use your carving tool to cut out the parts that you DON'T want to have coloured. Be gentle and careful, or you may end up needing some band-aids.
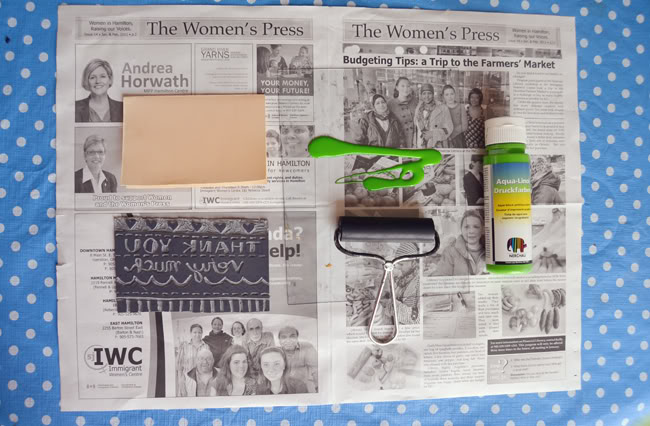 Step 5: Get ready to ink!
 Put out newspaper & squirt ink onto glass.
 Step 6: Spread out ink evenly.
 With your brayer, smooth the ink around from different directions to smooth it out. Make sure the ink isn't thick on the brayer.
 Step 7: Spread the ink onto your block.
 Simple!

 Step 8: Gently set paper on block. Smooth it out.
 Be steady or you'll image will smear. Roll the paper flat onto the block with a spoon, rolling pin, or if you are really steady - your hands will do the trick. Make sure to press down slightly along the edges so you don't miss anywhere.
 Step 9: Ta-da!
 Peel the paper away and take a peek at your masterpiece. See what mistakes you made and improve for the next round. Repeat! Repeat! Repeat!
 Step 10: Let 'em dry.
 Either use a drying rack to hang your work, or find lots of space to set out your pieces.


 Step 11: Don't stop there!
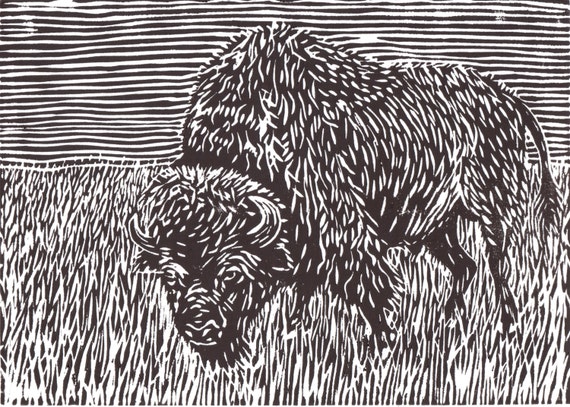
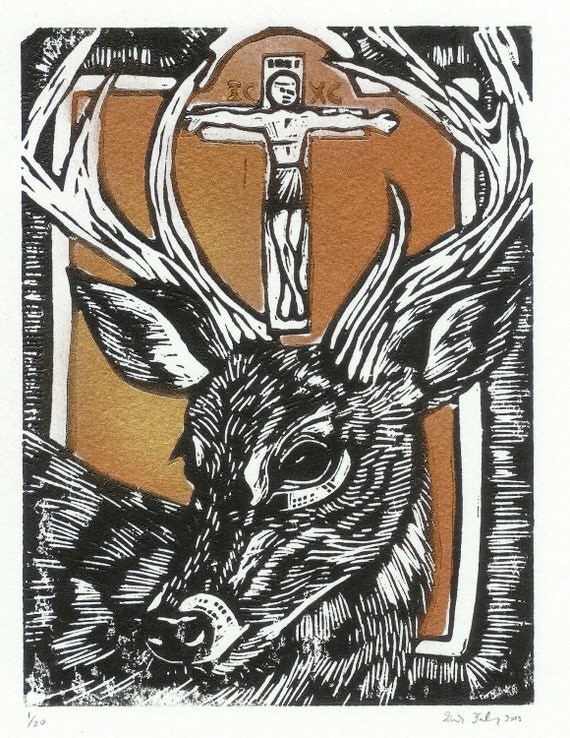
 Keep improving and trying new designs. Here are a few I've made. Below was the cover for my husband and I's wedding invitations. They were a blast to make!