Thursday, September 1, 2016

Pennants & Etsy!


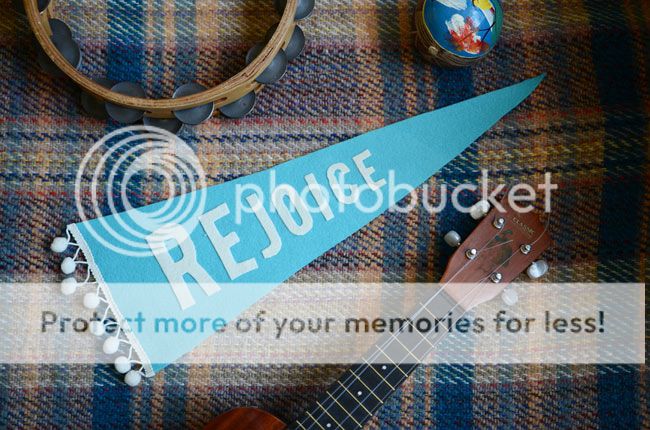
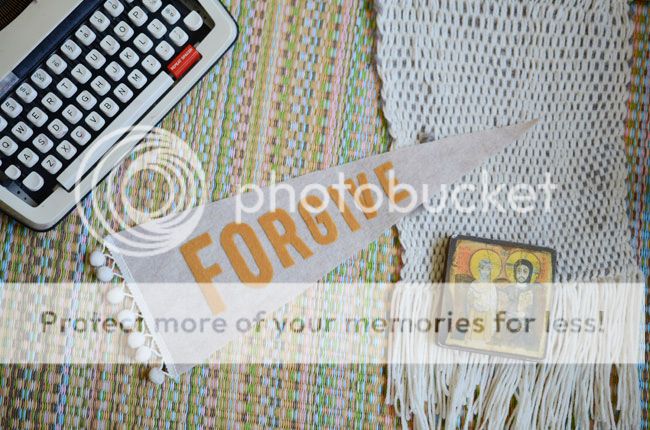
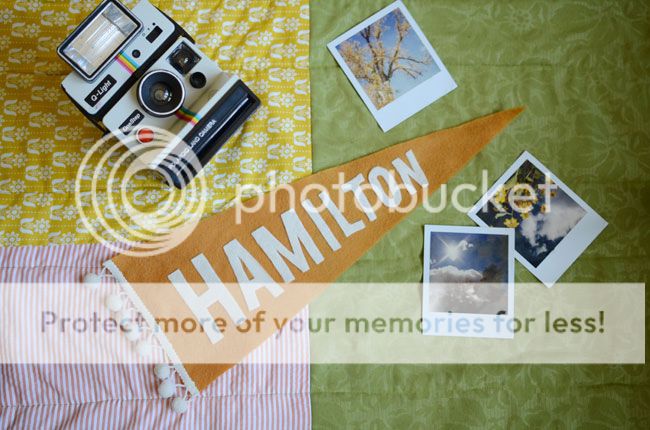
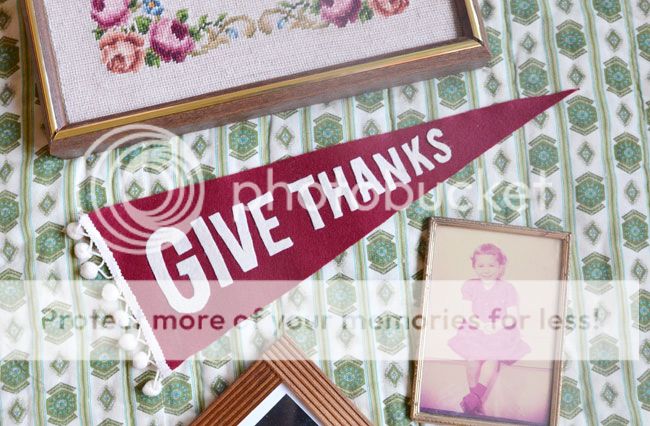
Well friends! I finally opened my first Etsy shop this summer for Spotted Gazelle. That's right, I am now a one-woman pennant factory. I'll be plugging away at making and selling pennants between working, taking care of two toddlers, and doing Zumba. (Why not, right?)

I first made a pennant as a present for two pals who got hitched, and can't get enough. They are fun, cute, and cozy up your home. If you are interested in a custom order, just contact me through Etsy and I'll be on it!

Wednesday, May 21, 2014

Quick & Easy Crocheted Rag Rug


I have tried making many rag rugs. I've braided, sewed, crocheted, and more. Most of them were way too time-consuming, turned out lumpy, frayed, or turned into a bowl (oops!). Where were the rag rugs for people who can't sew those braids flat no matter how hard they try??

It wasn't until I saw this simple photo that my rag rug world exploded. It was all, "Wait... you can crochet around fabric? HOW DID WE NOT KNOW THIS??"

That brings us to today. You CAN crochet around fabric, and it is incredibly fast and fun to do. As long as you know how to crochet flat, you can do it! And if you don't know how, it's as simple as increasing just enough so it doesn't ruffle or curl. There is lots of give and take, you can usually fix mistakes the next time around.


So far I've used about 15 old t-shirts, along with some pants and scrap fabric. This rug will likely grow at the pace we destroy our old clothes. It is a work in progress for sure.

My favourite thing about the rug is it makes a great baby play mat! I used this a lot when M was very little, so she could roll around on the ground without bonking her head on the hard floor, or slipping on a blanket. She likes it too, but won't stay in one place for long anymore.

I sincerely hope that if you've taken the time to read this, you'll also consider making your own. Happy rug making to you!

 "

Tuesday, April 8, 2014

DIY Macrame Plant Hanger


One of my many maternity leave goals was to use up my accumulation of rope. I had previously crocheted a rug and made flags for our wedding, but still had so much.  The only solution I could think of was macrame, so plant hangers made logical sense. They are lots of fun to make! Tying knots brings ya back to friendship bracelet days. Of course, plant hangers can be used for more than just plants. Our globe fits nicely, and is less heavy for hanging over heads.


There are a lot more tutorials online since I made these last fall, but the one I found most helpful was Macrame Plant Hanger Tutorial by Lowe's. Yes, Lowe's the hardware store. I also tried This Year's Dozen's version [above  left] which is prettier but did use a lot more rope. Once you get the hang of things it's easy to just merge patterns and make up your own. It does require math skills to know the proper lengths of rope you'll need, but winging it is fun too.


After six hangers the rope has come to an end. Our next challenge will be getting this lily to bloom again.

Tuesday, April 1, 2014

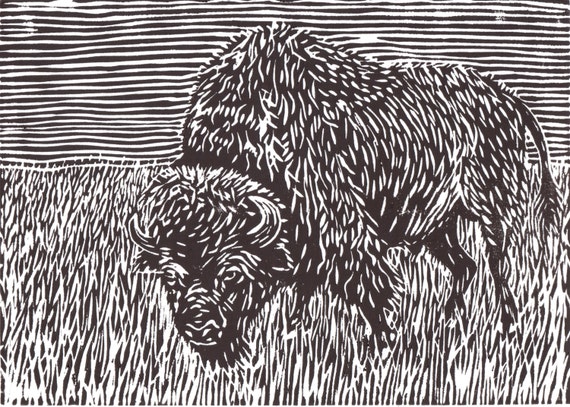
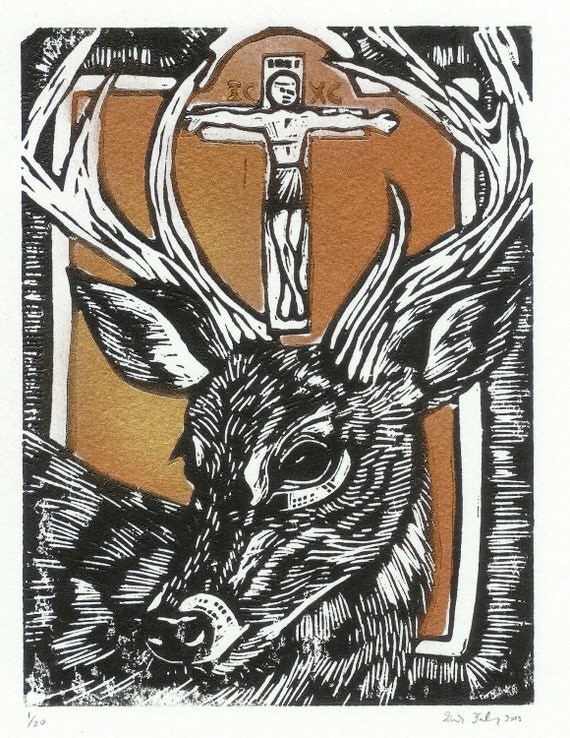
Adventures in Linocut: Animal Edition

Let's face it, linocut is a blast. But, I haven't done a lot since I posted the tutorial for linocut a couple years ago.  I've really only made one more thank you card design. It can be a bit intimidating, because linoleum actually costs something, unlike most crafts I do.

Lately I've been very inspired to get back into it and try and learn more. It's hard to think in negative/positive/backwards space for me, so I always find it a challenge to carve out exactly what I am hoping for. I guess the challenge is what makes it fun.

Here is one I made today, as a draft for part of a new album campaign thank you we're working on.
    

Linocut Inspiration

Below are some artist friends you need to check out, that have been particularly inspirational. Ben is a craft wizard who married one of my bestest friends. Sarah has catholic worker themed prints that rule, and happens to live close to Hamilton. Buy their stuff!


'Bison' by Benjamin Wildflower. Visit his Etsy shop here.
'St Eustace's Vision by Sarah D Fuller. Visit her Etsy shop here.

Tuesday, March 25, 2014

Upcycled Yarn from Haiti


I found these little beauties upstairs at my parents-in-law's house, which they brought with them back to Canada after their nine-year stay in Haiti. The sticks are a bit broken now (I mean, it was over 27 years ago) but they sure are charming. Something about these feels almost magical. They almost make me enjoy that shade of pink.


As you can see up close, most of the yarn is a bit ruffled. The reason for this (I was told) is at the time, when Haitians got bins of donated sweaters from other countries, they would often upcycle them into new things. This sometimes took the form of yarn diamonds/kites, sometimes clothes, and sometimes full-out afghans.


Here is one of the afghans they brought home. It has so many beautiful reds, blues, greens, and yellows gathered from knit sweaters. Every month we've been taking Minka's photos on a different blanket background, so for seven months, decided to do it on this beautiful upcycled afghan. Here is the little squirt and a closer view of the blanket too. Don't be fooled, she's ten months now, but still loves cats, colours and grandmas.

Follow my blog with Bloglovin

Monday, March 17, 2014

Granny Squares for Yarn Bombing

Who doesn't love an opportunity to make granny squares without having to commit to a whole afghan? Wahoo! I was so excited when Meg started recruiting people to crochet and knit granny squares for a major yarn bomb. By major, I mean big and beautiful. She and her partner Nick are going to yarn bomb a whole tree, and then get murried under it. Pretty great, eh? Above are the ones I've finished so far.  What's with the circles? Since I am purging half-finished crafts, I found these little cuties in my to-do bag. They were from a crocheted broach phase I went through a few years ago. I just added to them by mish-mashing granny square patterns to complete the squares. Thankfully Meg only has two rules: Make them 8 x 8 and vibrantly colourful. 
The only problem will be knowing when to stop. These things are addictive!

Tuesday, March 11, 2014

Colour Palette Pillows


When I first saw a crochet tutorial for pedal puff flowers, it immediately reminded me of Timothy and Samantha's wedding. My housemate at the time, Sarah, was sewing all of the ties before hand - so I got a good look at the intricate floral fabrics Samantha picked out. They even had matching cupcakes with pinks, yellows, creams, and oranges.


After realizing I also had matching hues in my hoardings of yarn and fabric, I knew making something for them was a must! The flowers were very fun to make, but practically, I wasn't sure what to do with them. Make a wall hanging? Use them as hot pads or doilies? I wanted something that could be useful for a longer period of time. Wall hangings change with taste and hot pads/doilies are fairly useless. Pillows it was! Throw pillows are so cozy and much more versatile.


Steps to making the pillows:
(also known as the shortest and least interesting tutorial to date)

1) Crochet lots of flowers using the Petal Puff Stitch Flower tutorial.
2) Sew them together with a darning needle and matching yarn.
3) Cut and sew fabric for each side of the pillow. Measure them for straight lines! I'm too haphazard and don't bother.
4) Sew the flowers on to your fabric using an embroidery hoop.
5) Finish sewing the sides together, leaving a 3 or 4 inch space.
6) Flip inside out and fill with stuffing.
7) Hand-sew the hole using the invisible stitch.
8) Voila!


You may also enjoy:

o